One more super busy weeknd, does anybody have any free time at the moment?! I have got to say that I am loving the productivity though, even if it is hard work! This weekend I managed 3 finishes and some progress on a WIP as well asgoign to the wedding of one of my best friends!
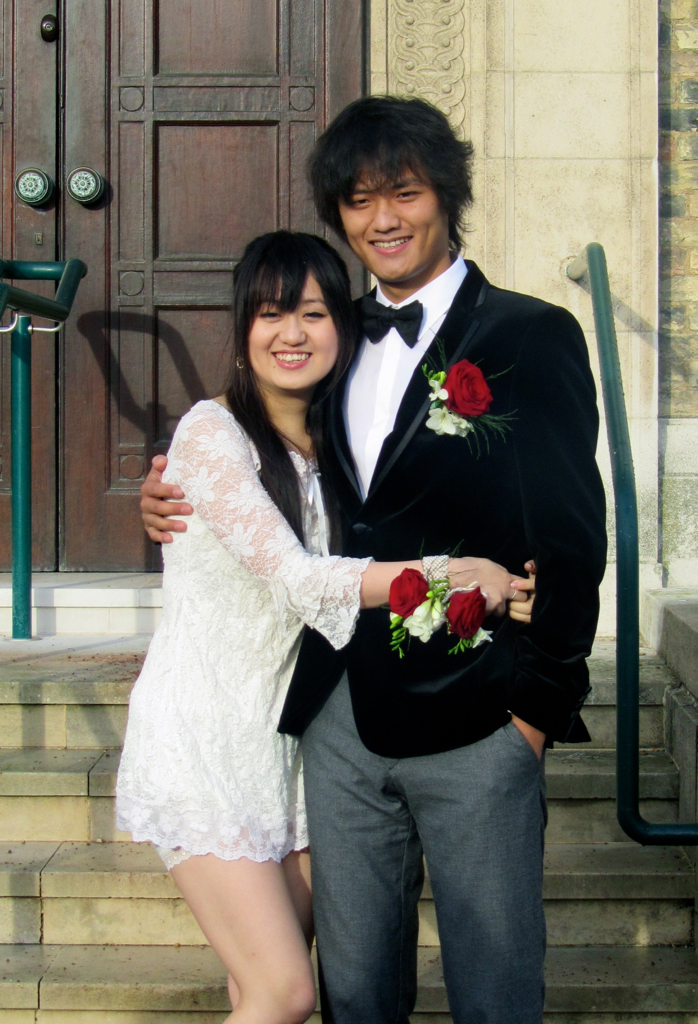
So I guess the first thing to share is Helen's wedding; I have never been to Cambridge before so after the meal a group of us went punting on the river, it was icy cold as it was going dark, but it was lovely to see the city from that angle and I can't wait to go back :)
Here is Helen and Reeves outside the registry office.
And I was going to share a pretty picture of Cambridge, but it seems I have forgotten to upload it so I promise not to inflict anymore photos on you!
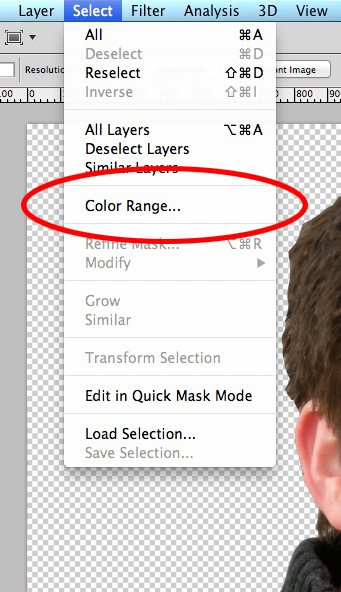
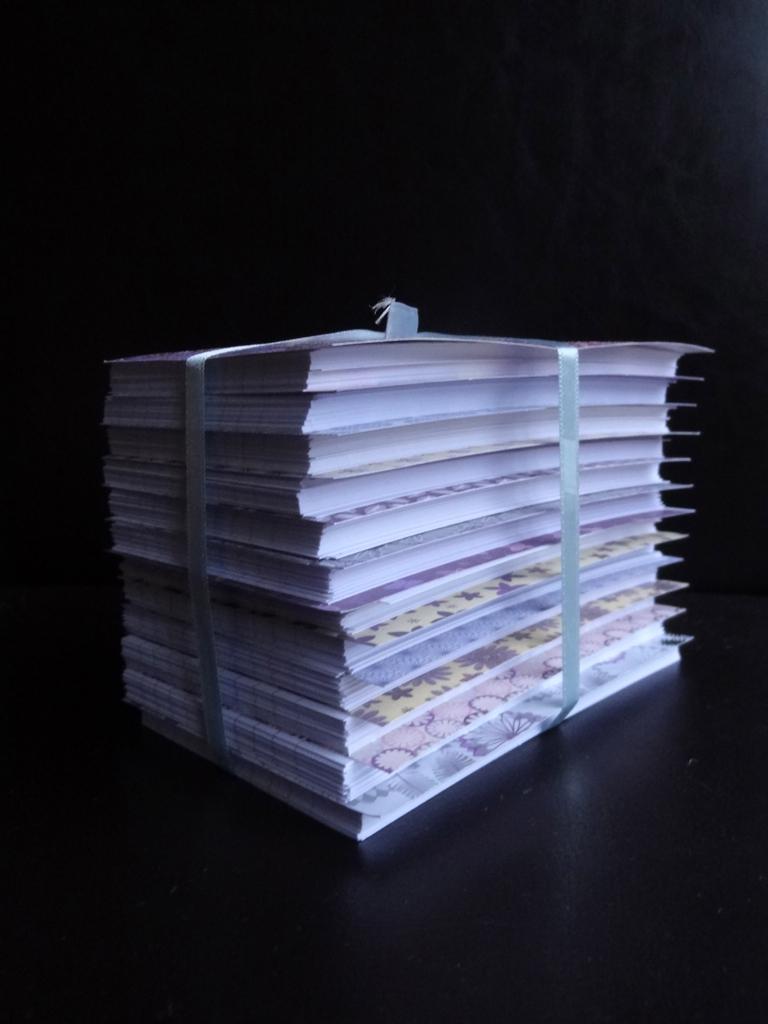
So, for the bit you are actually interested in, my first finish was an eternal calendar, a christmas present for a friend.
I have wanted to do one of these for myself since I saw it on
Design Sponge via
Pinterest but after spending almost all of friday night working on it I am not sure I have the patience to one for myself! Originaly I had intended on hand stamping each day individually and had even bought a librarian style stamp to do it with, until Chris pointed out just how many 366 card was going to be. He then set up a photoshop file for me to just change the date one at a time but even that took forever! A disc and a half of Gilmore Girls later, I had it down to a fine art, but at 20seconds a card it was non-stop and I was pretty tired by the end.
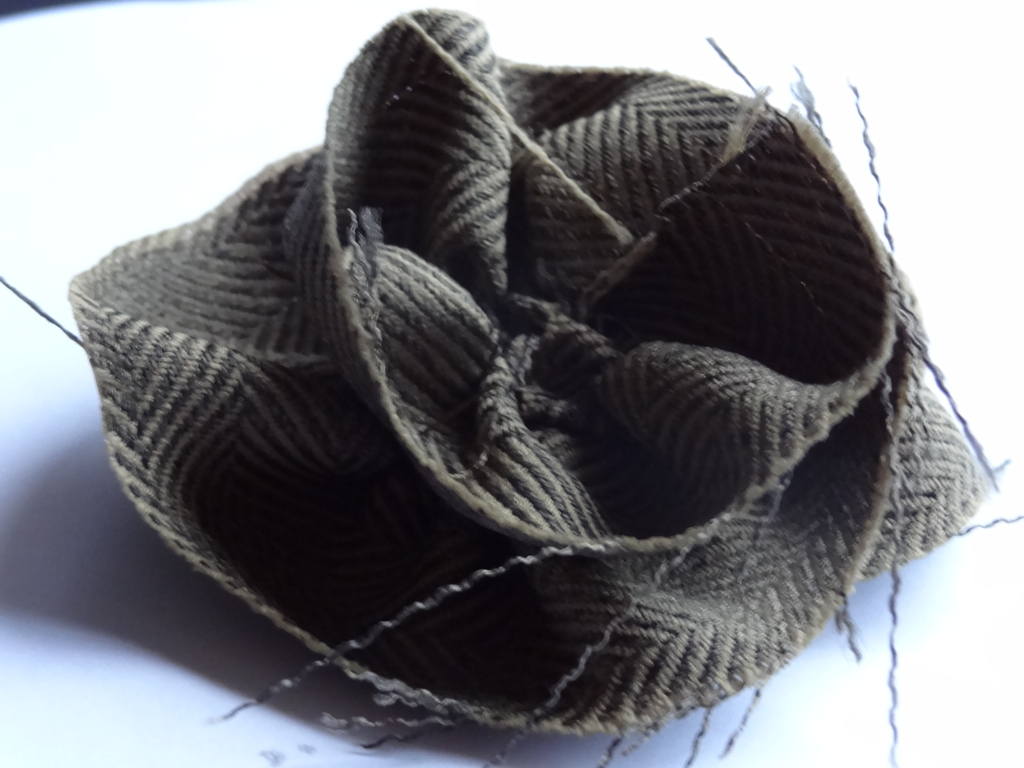
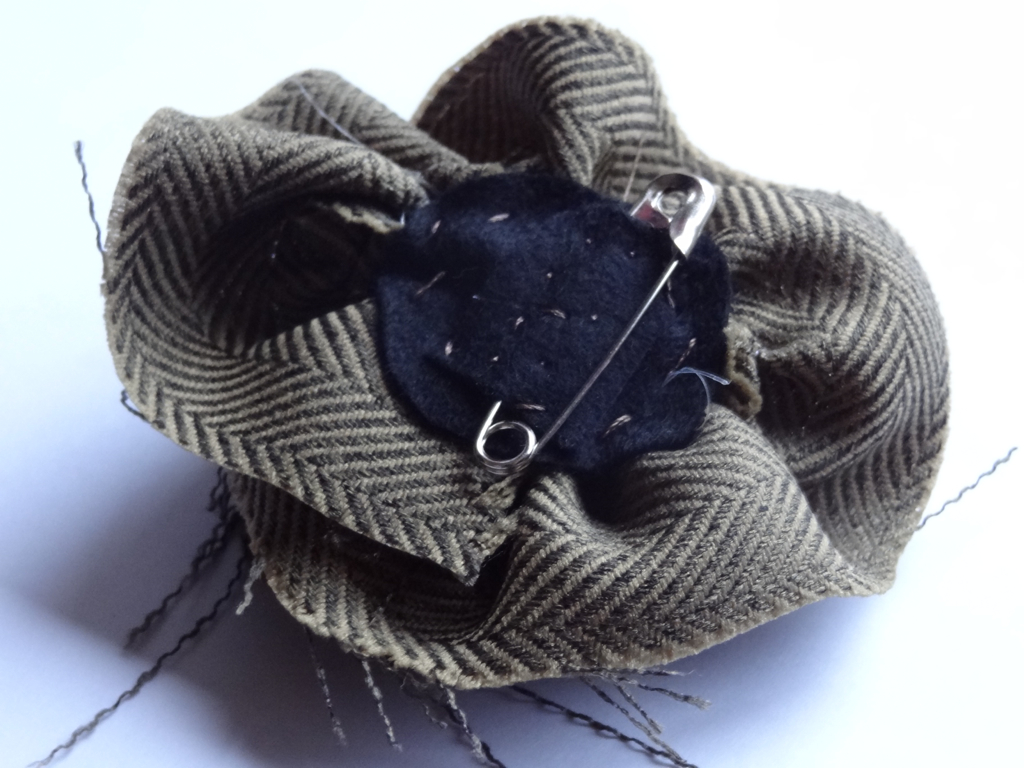
My second present was a set of ruffled roses, I loved the mix of masculine fabric with such a girly pattern and made these into pins so they could be put onto anything.
I didn't think this fabric was going to fray much, but the second I started working with it, it practically fell to pieces; fingers crossed it frays nicely and doesnt completely collapse!
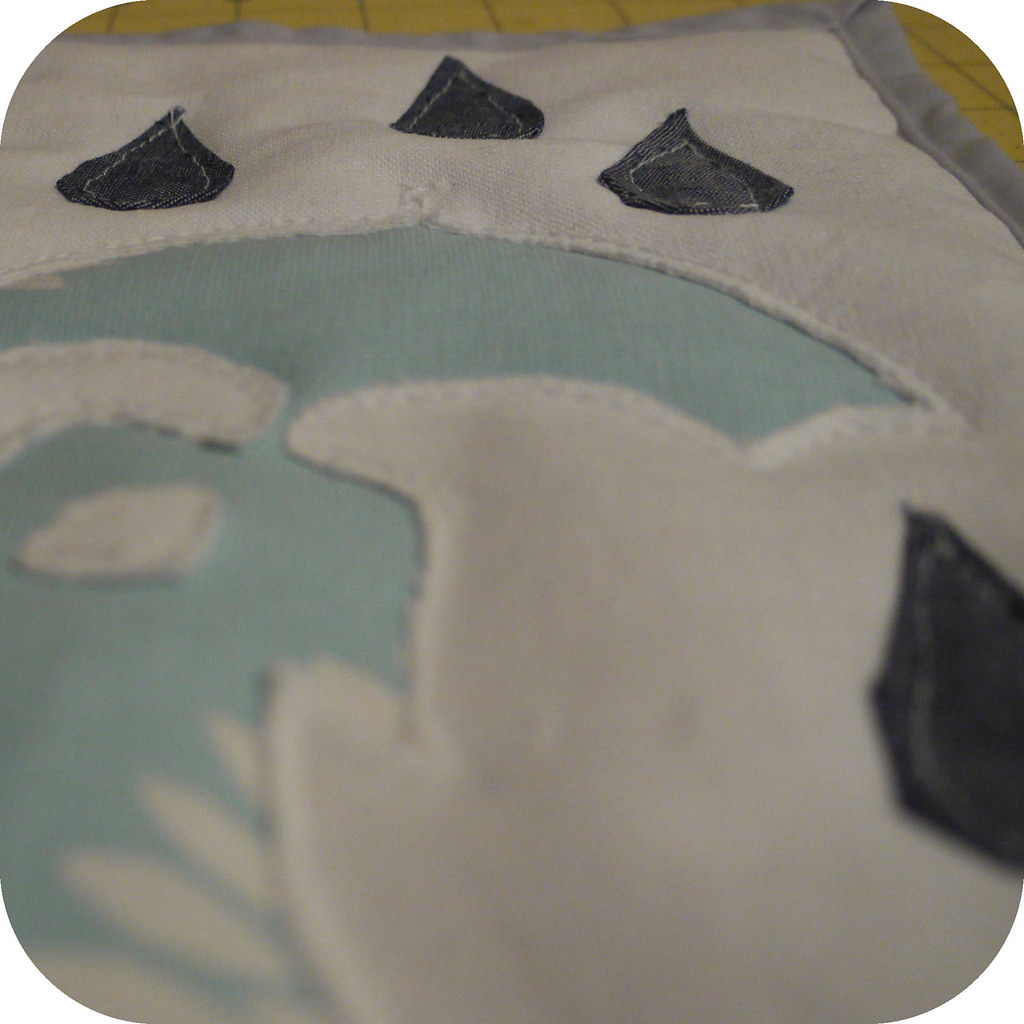
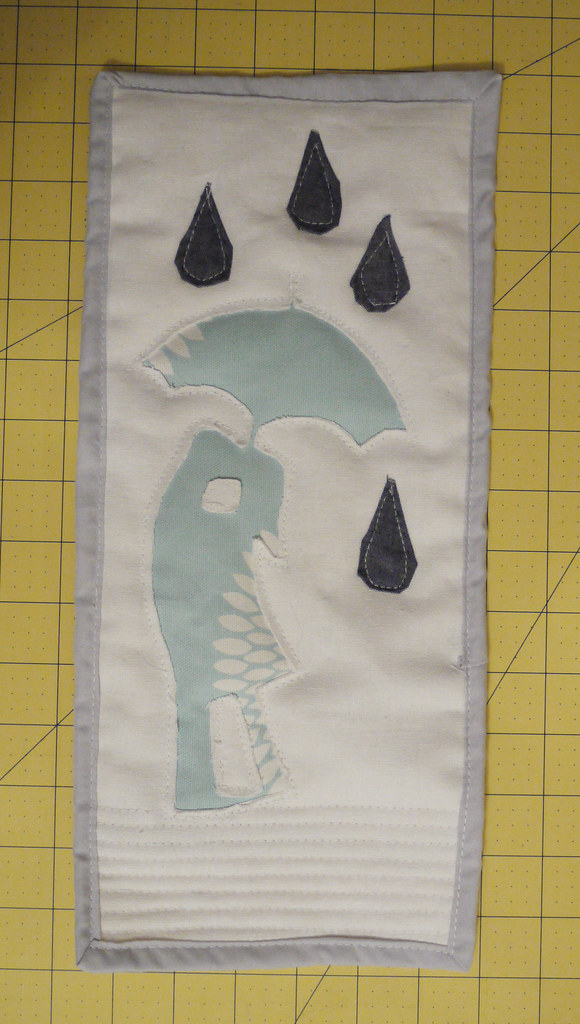
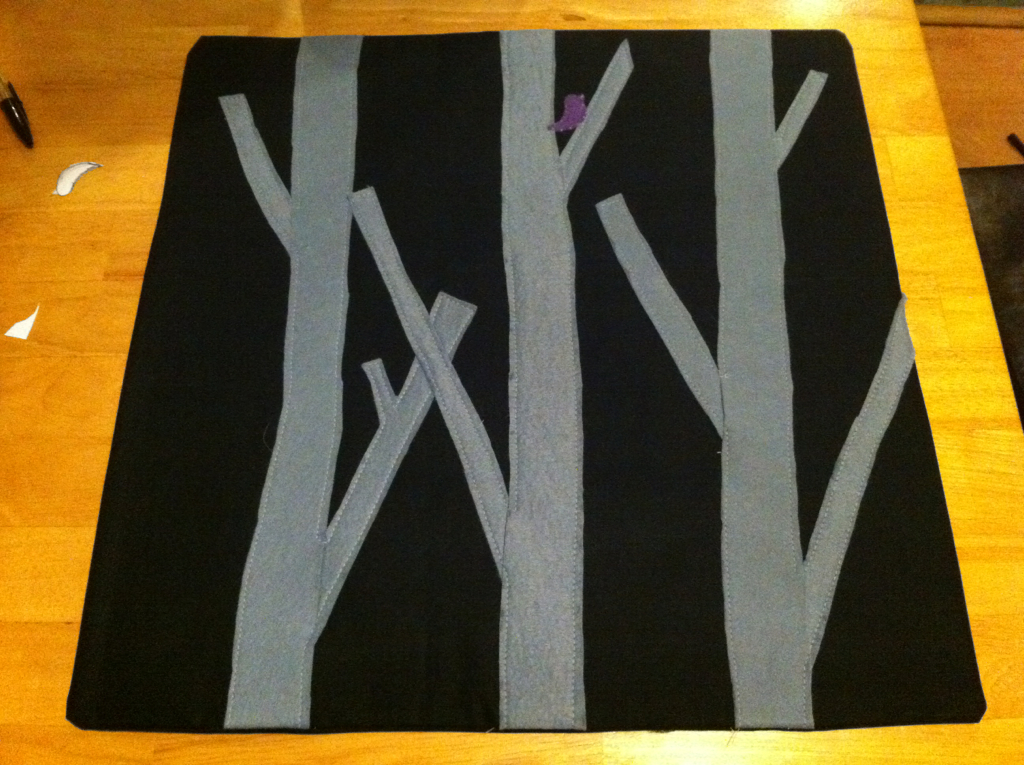
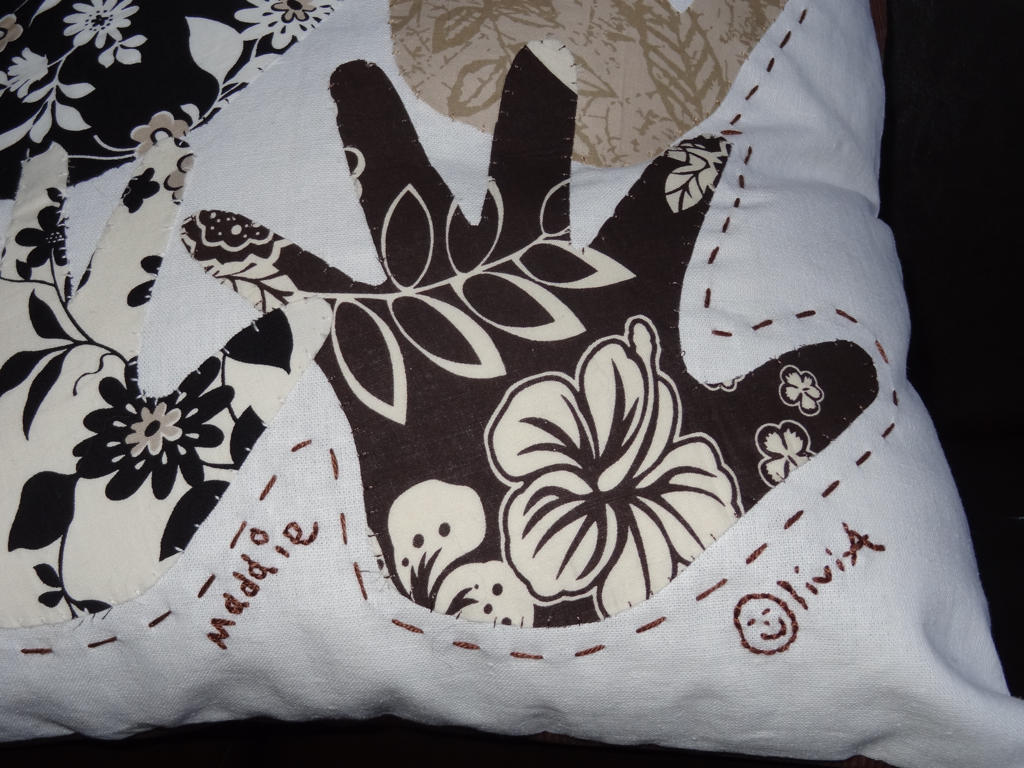
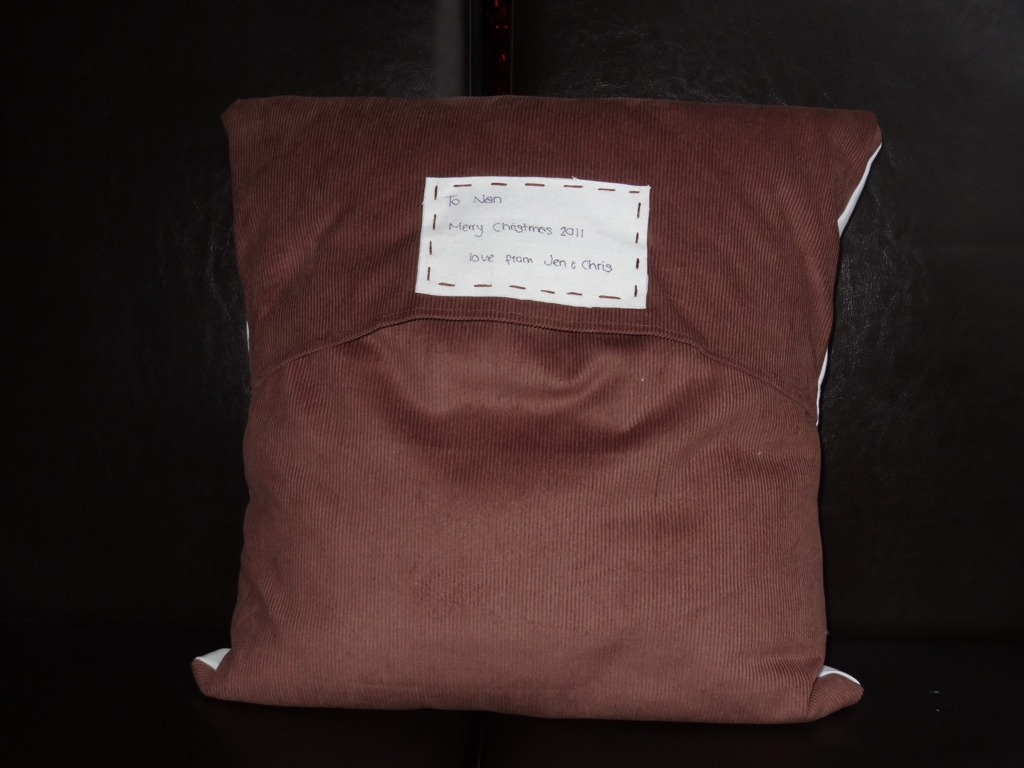
I also managed to start and finish a present for my mum, a tree cushion in black and white (ish) to match the decor in her bedroom. It was quite a simple style and I had planned on embroidering it, but I couldn't decide what shape the trees should be and while I was playing about with templates I decided that felt applique might be more effective.
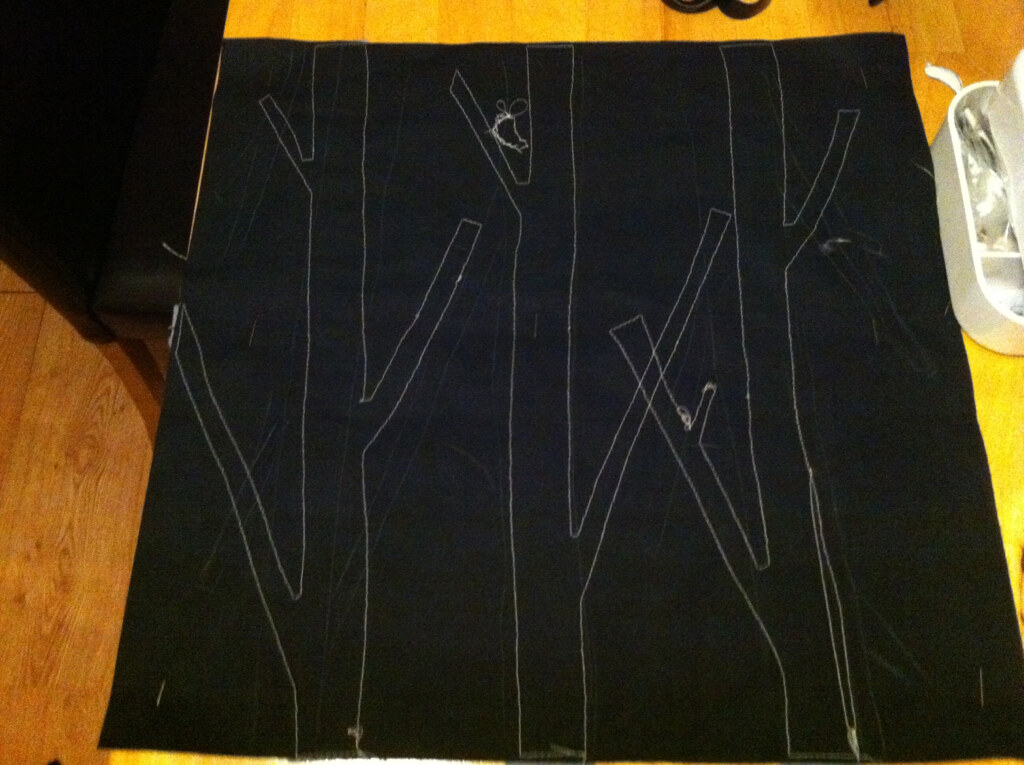
The reverse of the cushion turned out to be kind of what I had in mind for the front, I am so glad I changed my mind as I would have to have some skill in drawing trees for this to have worked out well...
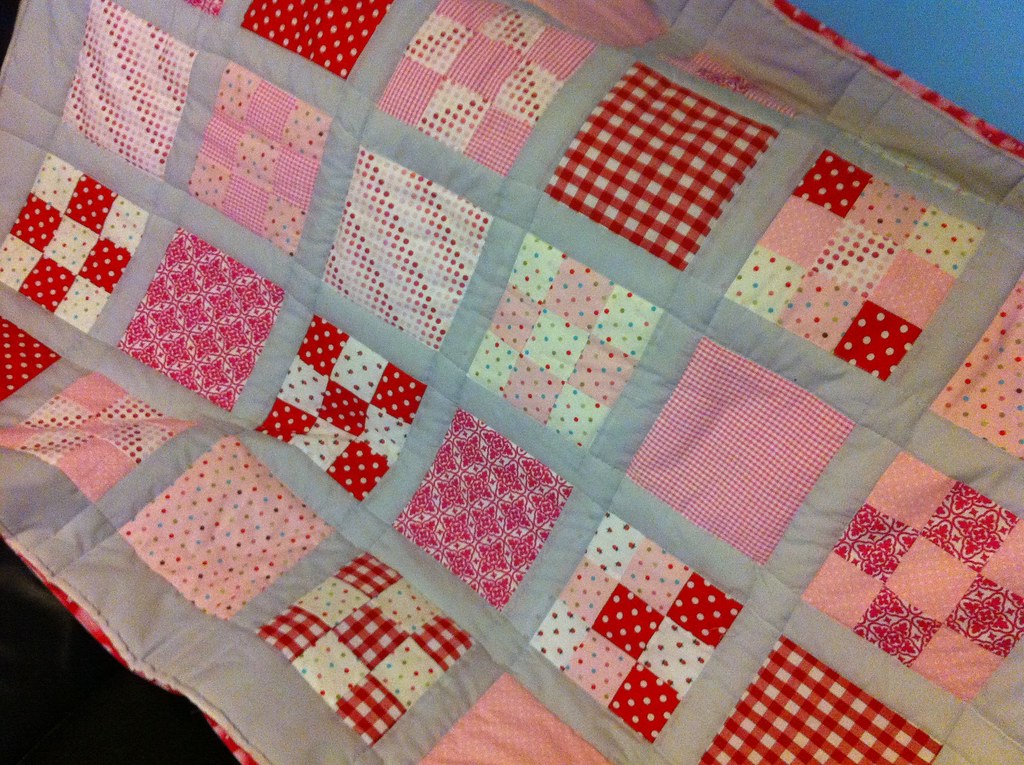
And last but not least, I had an extra hour on sunday night so I finished quilting Fifi's Nine Patch (it has been sitting, half done in my dining room all week) and I started binding. I have now finished attaching the binding to the back of the quilt, so all that is left is to flip it over and fix it down tonight and this guy will be ready to go! Then there's just one more to quilt and bind before Christmas!
Left on my list of jobs for tonight is to roast and can my chai tea mix for the rest of my christmas presents, if I get around to it tonight then I will have a recipe and some photos to share tomorrow, but don't hold your breath as I bought the ingredients last tuesday and have fully intended to do it every night since then!
J x